Yes—a building permit is required. Professional installers typically handle permit applications and inspections on your behalf.
For a seamless garage door installation experience in your new home, trust our experts at Garage Door Installation Vienna VA. Whether you’re building from the ground up or putting the finishing touches on your purchase, this detailed garage door guide will walk you through every phase for a secure, efficient, and stylish new home garage.
Building in Vienna, Virginia means dealing with seasonal temperature swings, summer humidity, and occasional severe storms. A properly installed garage door not only protects your vehicles and belongings from weather and intruders but also reduces energy bills and adds to curb appeal. Read on for home garage tips, professional insights, and a clear path to a flawless result.
Why Proper Garage Door Installation Matters in New Vienna VA Homes
A correctly fitted door sets the tone for the lifetime of your garage. Key impacts include:
- Security: High-tension springs and precise sensor alignment guard against forced entry and accidental closures.
- Energy efficiency: Insulated panels rated at R-values of 12–18 prevent heat transfer, keeping workshops and storage areas at comfortable temperatures year-round.
- Noise reduction: Quality rollers and balanced springs cut down on vibration, important if your garage sits below living spaces.
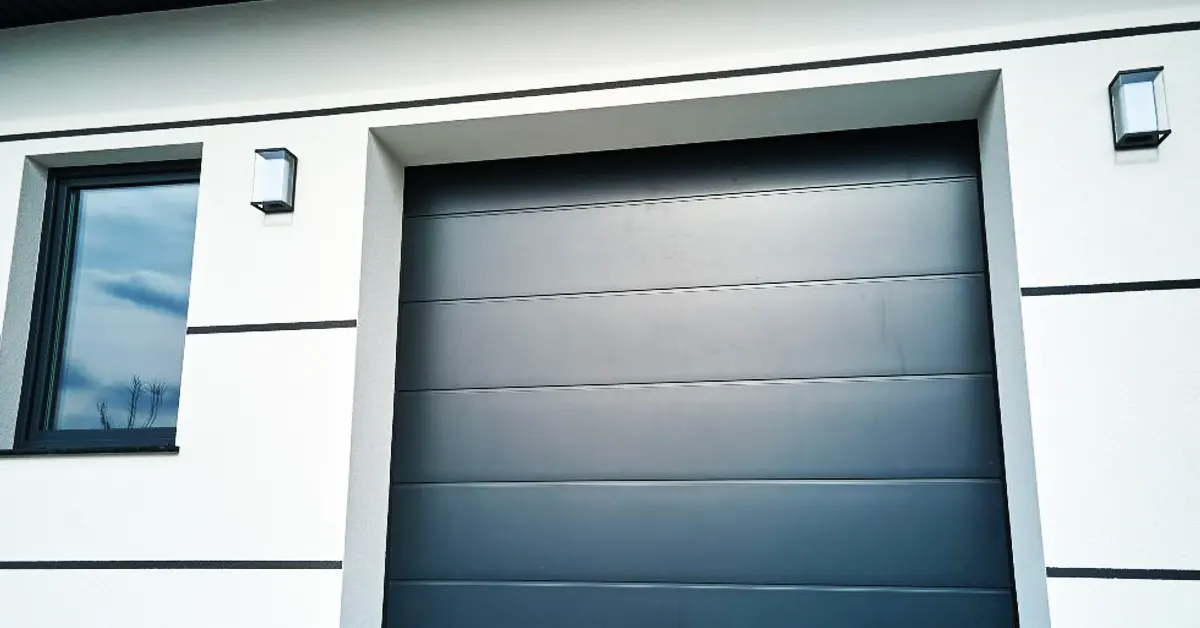
- Aesthetics: A door that matches your façade—whether colonial, Tudor, or modern—boosts resale value and neighborhood harmony.
Adding a professionally installed Vienna VA garage door from Day One eliminates the frustrations of misaligned tracks, rattling hardware, and uneven gaps that lead to drafts.
Step 1: Assessing Your Garage Space and Door Needs
Start by measuring your garage rough opening: width, height, side-room (track clearance), and headroom (ceiling clearance above the opening). Use a level and steel tape for precision. Note any ceiling obstructions—beams, sprinkler pipes, or ductwork—that could interfere with track installation.
Then consider how you’ll use the new home garage:
- Standard parking: A single-car door (8’x7’) is common, but a compact car might fit under a 7’ height.
- Workshop or extra storage: Add headroom requirements for tall shelving or a shop crane; you may need an 8’ or 10’ ceiling.
- Multi-vehicle entry: Two-car (16’x7’) or side-by-side double doors provide room for multiple cars or wide cargo.
Also evaluate door weight limits and opener capacity: a heavy, insulated steel door demands a 1- to 1½-horsepower opener, while lighter aluminum doors can run on ½-horsepower models. Avoid installation mistakes like under-sizing an opener or ordering panels in the wrong thickness.
Step 2: Choosing the Best Garage Door Style and Material
Your choice of garage door materials shapes performance, maintenance, and appearance. Common selections include:
Material | Advantages | Drawbacks |
Steel | Strong, low-maintenance, wide paint range | Can dent; older doors may rust |
Aluminum | Rust-resistant, lightweight | Lower insulation; dents easily |
Wood | Authentic look, customizable stains | Needs regular sealing/painting |
Fiberglass | Weatherproof, minimal upkeep | Brittle in freezing temps |
Beyond material, factor in panel style and windows:
- Raised panel: Classic lines that complement colonial and craftsman homes.
- Carriage house: Hinged-look doors add historic charm, popular in Vienna’s older neighborhoods.
- Flush panel: Smooth surface for modern residences, easily painted to match trim.
Select window inserts for natural light and design flair—frosted or decorative glass can hide clutter while brightening the space. Integrating your choice with a Vienna VA garage façade ties the entire exterior together.
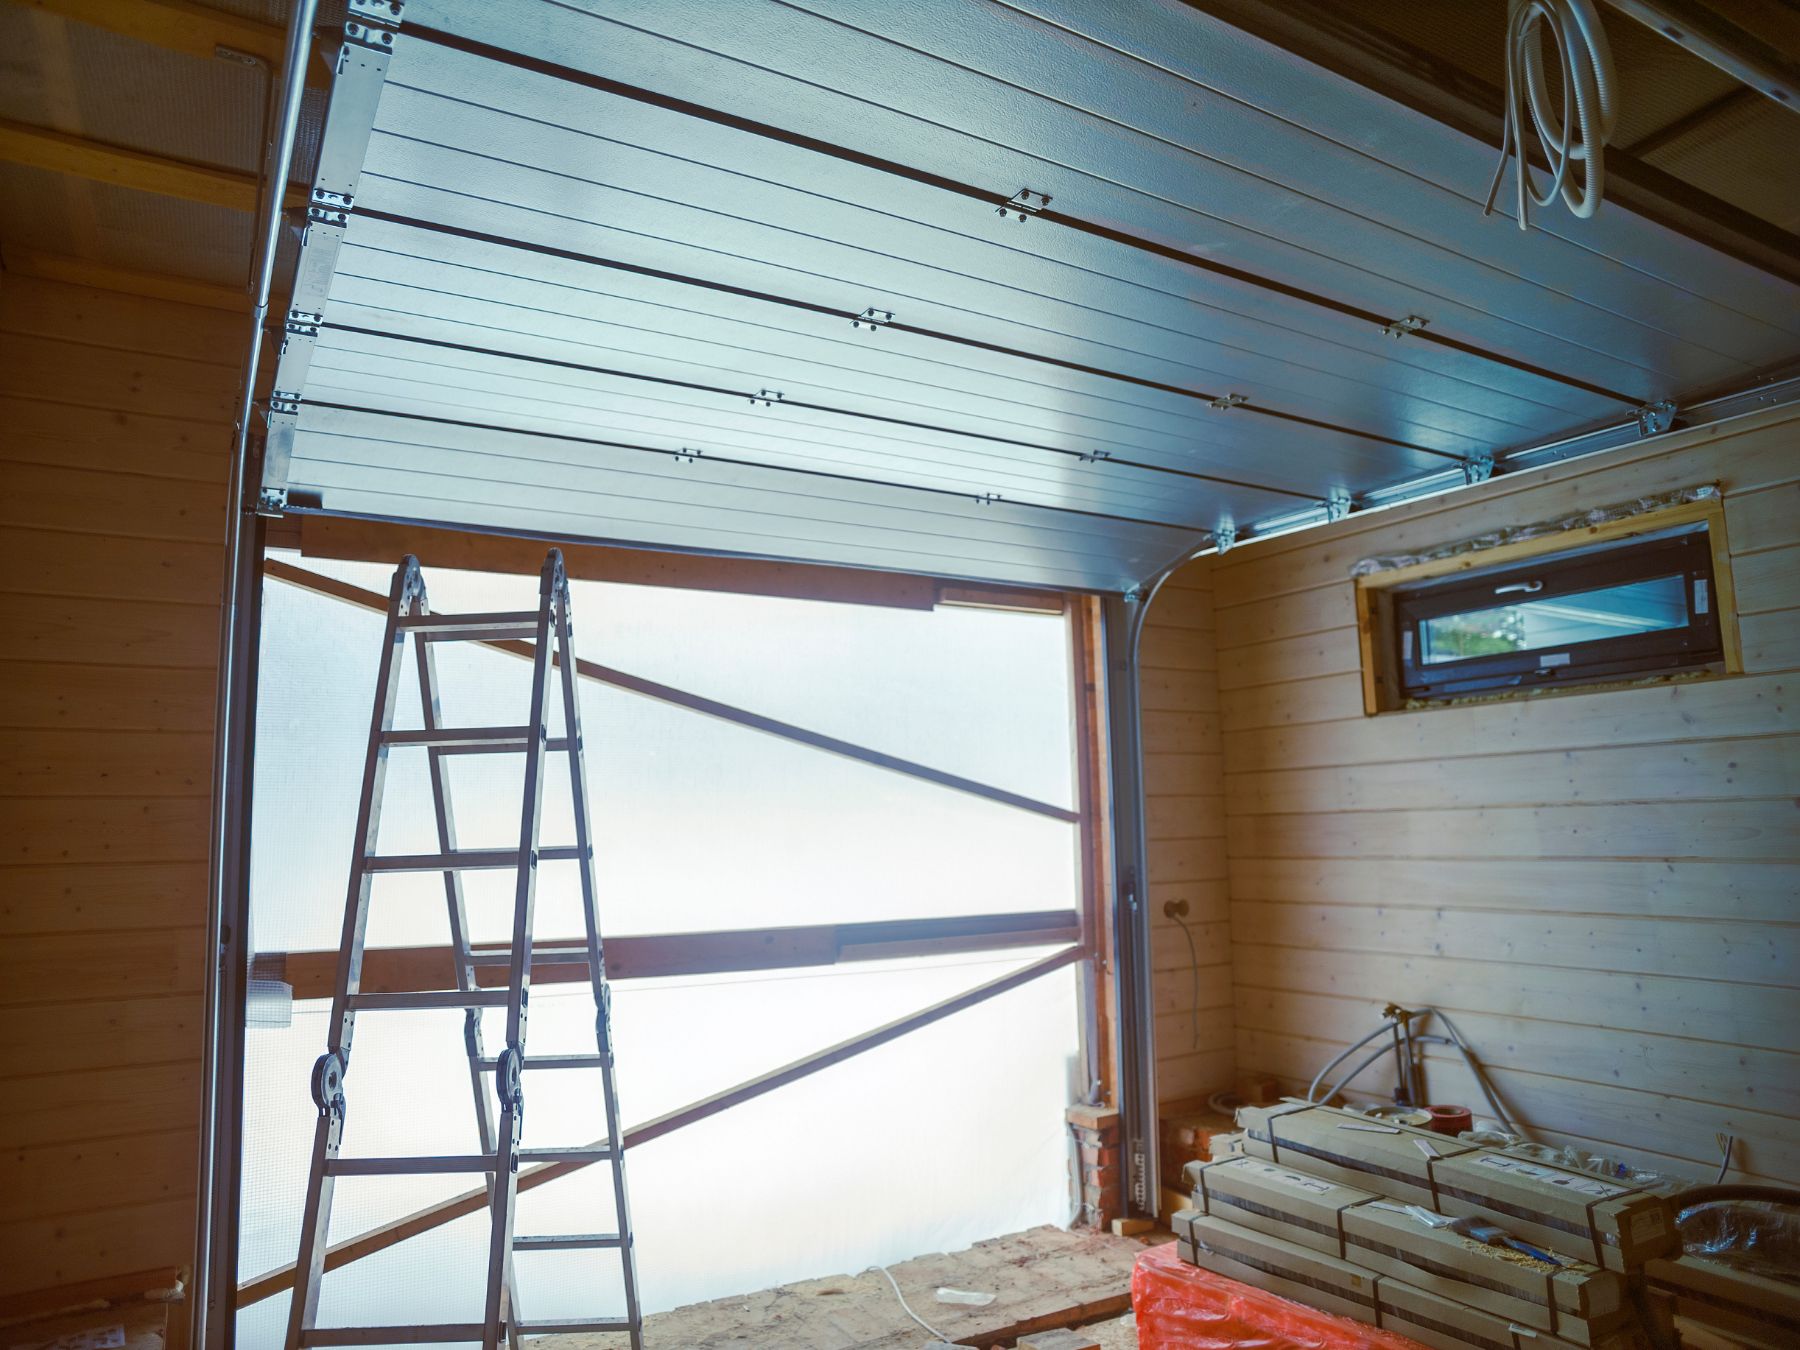
Step 3: Preparing Your Garage for Installation
A well-prepared environment makes the installer’s job faster and safer. Follow these home garage tips:
- Clear the floor: Remove vehicles, tools, and storage racks. Sweep to expose any cracks or uneven spots.
- Inspect framing: Check header strength—most installations require a double 2×12 header or engineered LVL beam to support torsion springs. Reinforce with sister studs if under-built.
- Pre-wire for opener: Install a dedicated 120V outlet near the center of the ceiling, plus low-voltage wiring to both sides of the door frame for safety sensors.
- Protect interior finishes: Lay down drop cloths or rosin paper to shield floors during drilling, assembly, and potential paint touch-ups.
- Confirm lighting: Good lighting lets technicians work accurately; install a temporary work light if necessary.
Skipping these steps often leads to delays or extra charges when crews have to stop and wait or return with additional materials.
Step 4: Professional Installation Day – What Happens
When your appointment arrives, your licensed garage pros will follow a proven sequence:
- Site review: A foreman confirms measurements, inspects hardware, and reviews any site notes (paint status, framing details).
- Panel assembly: Sections are assembled on the floor—rollers, hinges, and weatherstripping checked for quality before lifting.
- Track and spring mounting: Rails are secured to the header and side jambs. Torsion springs or extension springs are installed and pre-tensioned according to door weight.
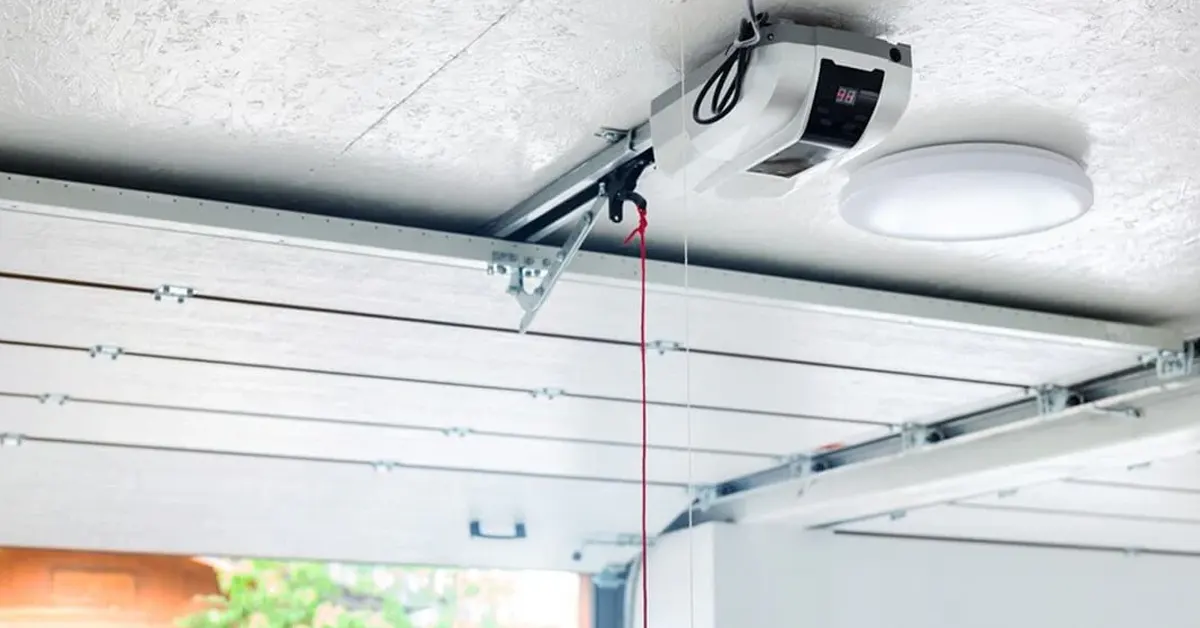
- Opener installation: The motor unit is attached to ceiling bracing; safety photo-eyes are aligned at 6 inches above the floor on each side of the opening.
- Panel hanging: Each section is lifted into place, rollers guided into tracks, hinges bolted together. Alignment is continually checked to prevent rubbing.
- Tension adjustments: Springs are adjusted so the door balances at mid-height when manually lifted, an essential step for garage door safety.
- Final calibration: The opener’s force, speed, and travel limits are set; remotes and keypads are programmed.
Professionally installed doors meet or exceed ANSI/BHMA A156.10 standards—your guarantee of reliable performance and safety.
Step 5: Testing Door Operation and Safety Features
Before the crew leaves, every component undergoes a series of tests to verify proper function:
- Balance test: With the opener disconnected, lift the door manually to mid-open; it should hover without drifting up or down.
- Auto-reverse: The door must reverse immediately upon encountering a 1½-inch obstruction (use a 2×4 to simulate).
- Photo-eye alignment: Verify that LEDs indicate clear line-of-sight; misalignment prevents closing.
- Force setting: The opener’s up/down force is calibrated to work smoothly without excess strain.
- Remote range: Walk the property line to confirm the remote activates the opener at a distance of at least 50 feet.
- Manual release: Pull the red emergency cord to confirm disengagement, then re-engage and cycle the door.
These steps fulfill garage door safety regulations and help avoid future service calls.
Step 6: Final Adjustments and Cleanup
A thorough wrap-up leaves your space ready for daily use:
- Tighten all hardware: Nuts, bolts, and brackets are rechecked after initial operation to eliminate rattles.
- Lubricate moving parts: A silicone or lithium-based spray on rollers, hinges, springs, and lock barrels promotes quiet, long-lasting motion.
- Seal gaps: Inspect bottom and jamb weatherstripping; replace if pinched or warped.
- Remove packaging: All cardboard, plastic, and unused materials are hauled off for recycling.
- User orientation: Technicians provide a quick walkthrough on opener features, emergency procedures, and maintenance schedule.
A clean work area and a clear understanding of your door’s operation set you up for years of trouble-free use.
Step 7: Maintenance Tips for New Garage Doors
Regular attention preserves performance and extends the life of your investment. Schedule these tasks every six months:
- Visual inspection: Look for bent tracks, frayed cables, loose bolts, and worn weather seals.
- Lubrication: Apply spray to all moving parts, focusing on springs, rollers, and hinges.
- Weatherseal health: Replace cracked or hardened bottom seals and side strips to maintain a tight barrier against insects and moisture.
- Sensor cleaning: Wipe lenses with a soft cloth to remove dust or cobwebs that could block the beam.
- Tension check: Have licensed garage pros test spring tension annually to avoid overstrain and premature failure.
- Paint and finish care: Touch up chips on steel doors with rust-inhibiting primer and matching paint; re-stain and seal wood doors every 2–3 years.
- Smart-home integration: Update firmware in Wi-Fi openers and confirm app connectivity.
Consistent garage door maintenance averts most service calls and keeps your opener warranty valid.
Common Installation Mistakes to Avoid
Homeowners and untrained installers often stumble over these issues:
- Wrong measurements: Even a half-inch error in width or height leads to poor sealing and uneven tracks.
- Underpowered opener: A weak motor strains under heavy, insulated doors and wears out faster.
- Skipping insulation: Uninsulated doors let in drafts, making garages uncomfortable and raising utility costs.
- Improper spring type: Extension springs on heavy doors can snap suddenly; torsion springs are safer and longer-lasting.
- Ignoring local code: Vienna requires photo-eyes, emergency release handles, and proper labeling for inspections—overlooking these leads to permit delays.
- DIY spring adjustment: Springs hold immense force; incorrect winding can cause serious injury.
Avoiding these installation mistakes saves time, money, and frustration down the road.
Hiring Licensed Professionals in Vienna VA: Why It Matters
Choosing certified installers brings multiple advantages:
- Local code expertise: They know Fairfax County requirements, ensuring your door passes inspection without rework.
- Comprehensive insurance: Workers’ compensation and liability cover you in case of onsite accidents.
- Manufacturer warranty compliance: Many warranties stipulate professional installation for coverage of parts and labor.
- Quality assurance: Accredited businesses back their work with service guarantees, meaning repairs or adjustments are handled promptly.
- Customer reviews: Look for local testimonials, A+ ratings with the Better Business Bureau, and affiliations with industry associations for peace of mind.
Partnering with licensed garage pros means one point of contact for installation, warranty service, and annual tune-ups.
When to Schedule Your Installation for New Builds
Align your installation with the home construction timeline for maximum efficiency:
- After rough framing and roofing: Ensures the structure is weather-tight so no moisture interferes with hardware.
- After drywall and paint: Keeps dust and overspray off the motor and track components.
- Before final landscaping: Gives trucks and forklifts clear access to the garage opening.
- Shortly before closing: Guarantees your Vienna VA garage door is fully operational when you receive the keys.
Coordinate with your general contractor and builder to lock in a date—and avoid rescheduling fees.
Frequently Asked Questions (FAQ)
What’s the typical cost range for a new door plus installation?
For a single-car insulated steel door, expect $1,200–$2,500. Two-car doors with insulation and windows run $2,500–$4,500, depending on materials and opener features.
How do I know if I need a torsion spring versus an extension spring?
Heavy, insulated doors benefit from torsion springs—they last longer and operate more quietly. Budget doors often use extension springs but require more frequent adjustment.
Can I integrate my door with smart-home systems?
Yes—Wi-Fi enabled openers let you monitor status, receive alerts, and operate the door via smartphone apps or voice assistants like Alexa and Google Home.
Are there energy-efficient door options?
Insulated steel doors with polyurethane fill offer R-values up to 18. Look for Energy Star ratings to qualify for potential rebates.
Do I need a permit for installation in Fairfax County?
Yes—a building permit is required. Professional installers typically handle permit applications and inspections on your behalf.
How often should springs be replaced?
Springs are rated for a certain number of cycles—standard springs last 10,000 cycles (about seven years for average use). Heavy-duty springs can extend this to 25,000 cycles.
By following this step-by-step garage door installation guide, you set your new home garage in Vienna, VA, up for years of dependable performance, energy savings, and curb appeal. From precise measurements and style selection to professional setup by licensed garage pros and proactive garage door maintenance, every phase leads to a safe, efficient, and attractive entryway. Ready to proceed? Contact Neighborhood Garage Door today and get your installation on the calendar!